
The Bike Hub
Bike Assembly Guide
Sweet, you got a new bike! The following video is designed to help guide you through assembling your newly purchased bike from The Bike Hub. Or if you prefer to read through a step-by-step guide, see below to assist in assembling your bike. Thanks for supporting The Bike Hub—we’re stoked you’re riding with us!
Questions? Need help?
Call us at 509-233-4405 or email help@thebikehub.com
NOTE: After purchasing a Giant, Liv or Momentum bike through The Bike Hub we will register your bike with Giant Bicycles and will share your information with them.

Step-by-Step Bike Assembly Guide
The below steps will guide you through the process of assembling your new bike! If you feel at any time the build steps are unclear, or if you are unsure about any installation steps, we recommend contacting your local bike shop. We know they can help with whatever questions you might have.
STEP 1
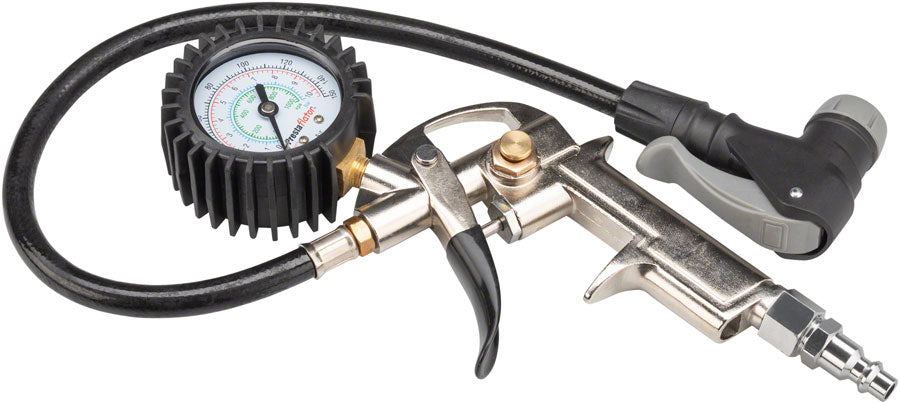
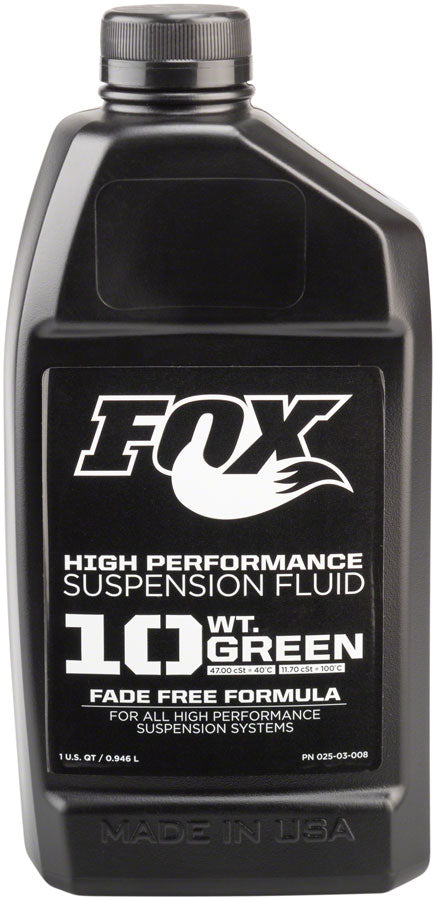
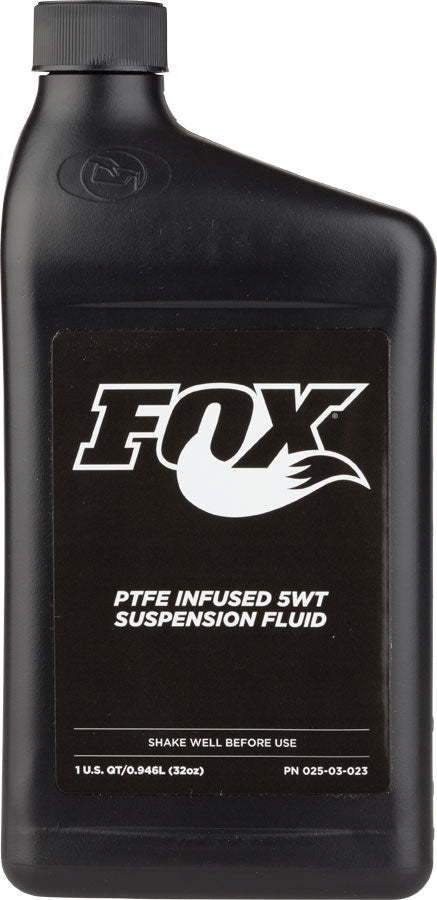
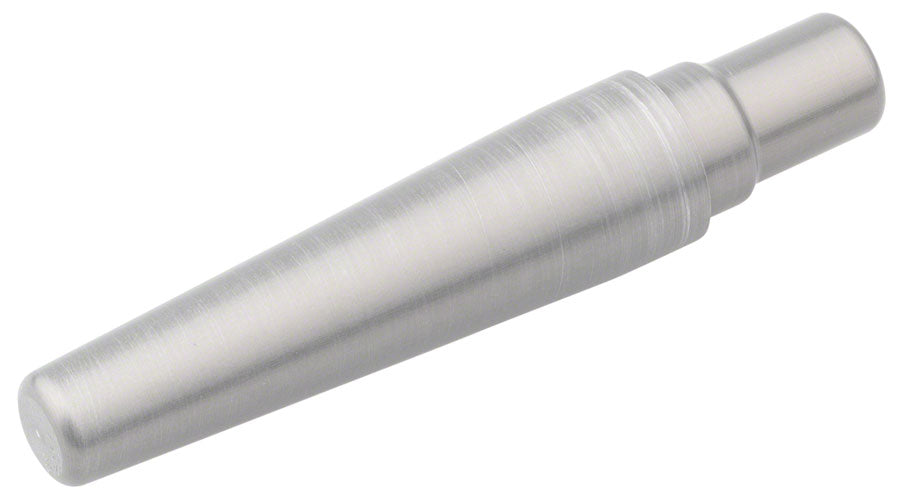
Recommended Tools
Click to browse recommended tools
- To build your new bike, you will need some basic tools for assembly.
- The tools we recommend are an allen wrench set, side cutters, grease, a torque wrench, tire pump, shop towels or rags, and a shock pump if your bike has air adjustable suspension.


Step 2
Unboxing & Basic Checks
- Before you remove the bike or any parts, check the box for any damage and take photos before unboxing.
- Open along the top of the box and start by removing the seatpost and front wheel. The rest of the bike should then easily be able to be picked up out of the box. Careful as the handlebars will not be attached, and may swing. Set the bike gently aside for now.
- Any other parts and accessories should come in a small package that is likely at the bottom of the box. Remove the remainder of packaging from the box to ensure no other parts or accessories are present.
STEP 3
Seatpost Installation
- Start by installing the Seatpost into the bike. If the bike comes with a dropper post, you will need to hook up the dropper cable located in the frame.
- The seat tube should already have some grease or assembly compound inside. Don’t worry about getting this the perfect height for now (but make sure it is inserted past its minimum insertion line).
- Then tighten the seatpost clamp enough so that the bike can be lifted and held by the post.


Step 4
Packaging Removal
- Go ahead and put the bike in a workstand if you are using one.
- You can remove any remaining packaging or protective material at this time.
Step 5
Handlebar Installation
- To install the handlebars, remove any protective packaging or materials from the handlebars and stem.
- Remove the stem bolts and install the handlebars by tightening the faceplate bolts.
- Carefully check the stem and the faceplate for installation guidelines. If it says no gap at the top, then make sure the top of the faceplate is flush against the stem, and tighten the two upper bolts first, and then tighten the two lower bolts evenly. If the stem does not specify, the gap should be the same on both the top and bottom portions of the stem faceplate–in this case tighten all four bolts slowly in an "X" pattern.
- Make sure to tighten each bolt a little at a time until all tight. Do not fully torque the bolts at this time.


Step 6
Install Front Wheel
- To install the front wheel, remove the axle and brake pad spacer from the brake caliper. This could be plastic or cardboard.
- Remove any protective material from the wheel or rotor, and make sure that the hub end caps do not come off when removing.
- Line the rotor up with the brake caliper and hold the wheel in place as you insert the axle and tighten.
Step 7
Install Pedals
- Your pedals are Left and Right specific threading.
- The right-side or drive-side pedal and crank will be standard clockwise threading, and the left-side or non-drive-side will be reverse counter clockwise threading.
- Apply a little grease onto the pedal threads, and tighten. No need to overtighten, just add a little pressure with the appropriate wrench after they are fully seated.


Step 8
Adjust Handlebar Angle
- Once all the components are installed, set the bike on the ground to adjust your handlebar angle.
- Once at the desired angle, find the bolt torque specifications which should be written on the stem.
- Use a torque wrench to tighten to the correct specifications in an X pattern.
Step 9
Adjust Saddle Height
- Set your saddle to your correct height, and torque the saddle clamp bolt to the correct torque specification.


Step 10
Check Tires & Suspension
- Inflate your tires to your desired air pressure within the manufacturer guidelines.
- If your bike is equipped with air adjustable suspension check your suspension air settings.
Step 11
Final Checks
- Finally, we recommend using a torque wrench to perform a final bolt check.
- If you have any questions or concerns about handlebar angle or seat height, we recommend contacting your local bike shop or bike fitter to get the best possible fit and performance.
- If you feel at any time the build steps are unclear, or if you are unsure about any installation steps, we recommend contacting your local bike shop. We know they can help with whatever questions you might have.
- We also recommend having a professional bike mechanic check over the entire bike after assembly to ensure all parts are correctly installed, and make sure your new bike is safe and ready to ride.


ENJOY YOUR NEW RIDE!